How to Winterize Your Outdoor Kitchen in Charlotte
Protect your outdoor kitchen investment during Charlotte winters. Step-by-step winterization guide for plumbing, appliances, countertops, and structures.
Sarah Reynolds
We see this scenario play out every winter across the Carolinas. Homeowners invest heavily in beautiful backyard setups, only to overlook the specific cold-weather vulnerabilities of their equipment. Understanding how to winterize your outdoor kitchen in Charlotte is essential because our team of outdoor kitchen professionals in Charlotte knows the area’s mild winters create a false sense of security. The occasional hard freeze causes serious damage to an unprepared outdoor kitchen. We have watched preventable problems like burst water lines and cracked countertops cost thousands to repair. Taking a few hours each fall to protect your investment ensures everything is ready when spring arrives.
Let’s look at the data, what it actually tells us, and explore practical ways to respond.
When and How to Winterize Your Outdoor Kitchen in Charlotte
Timing your winter prep correctly requires a delicate balance. We often find that winterizing too early means missing out on prime fall cooking weather. Waiting too long risks getting caught by an unexpected cold snap.
Our recent review of NOAA’s 1991-2020 climate data shows Charlotte’s average first frost hits right around October 30. A 2025 climate analysis indicates that hard freezes are shifting slightly later into November.
We recommend a phased approach for the best results. This strategy protects your gear while maximizing your cooking days.
Our preferred timeline looks like this:
- Late October: Drain the plumbing and protect moisture-sensitive stone.
- Late November: Deep clean grills and disconnect unneeded gas lines.
- December through February: Perform quick ongoing maintenance checks.
Protecting Your Plumbing and Water Lines
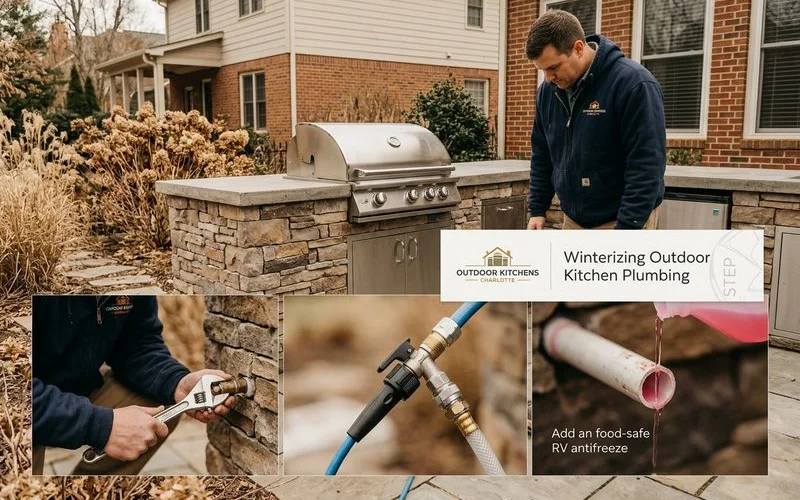
Plumbing represents the single most vulnerable component of your setup. We constantly warn clients that water expands by roughly 9 percent when it freezes. This expansion creates enormous pressure inside pipes, valves, and expensive fixtures.
Our research into 2026 industry averages shows that a single burst pipe costs between $500 and $2,000 to repair.
This massive expense does not even account for replacing damaged masonry or surrounding cabinetry.
Draining the System
Locating the main shutoff valve is your absolute first priority. We suggest finding this valve inside the home where the line exits the building. Turn off the supply, and then open all the outdoor faucets.
Our technicians always leave these valves open throughout the winter. Open valves allow any residual water to expand safely if it freezes inside the pipe.
Using Antifreeze and Insulation
P-traps require a specific type of protection to survive a hard freeze. We exclusively use Camco or a similar non-toxic RV antifreeze made of propylene glycol.
Our standard plumbing winterization protocol includes these key steps:
- Pouring one cup of pink RV antifreeze into all sink drains.
- Disconnecting and completely draining all garden hoses.
- Installing Frost King or Taymac insulated faucet covers over exposed bibs.
This exact process prevents trapped water from cracking the PVC fittings and faucet housings. We never use automotive antifreeze, as it is highly toxic and unsafe for residential environments.
Winterizing Appliances and Equipment
Even if you grill year-round, your other appliances need seasonal defense. We know that Charlotte experiences winter rain, random ice storms, and high humidity that aggressively attacks bare metal.
Ignoring these elements leads to rapid corrosion and costly replacements.
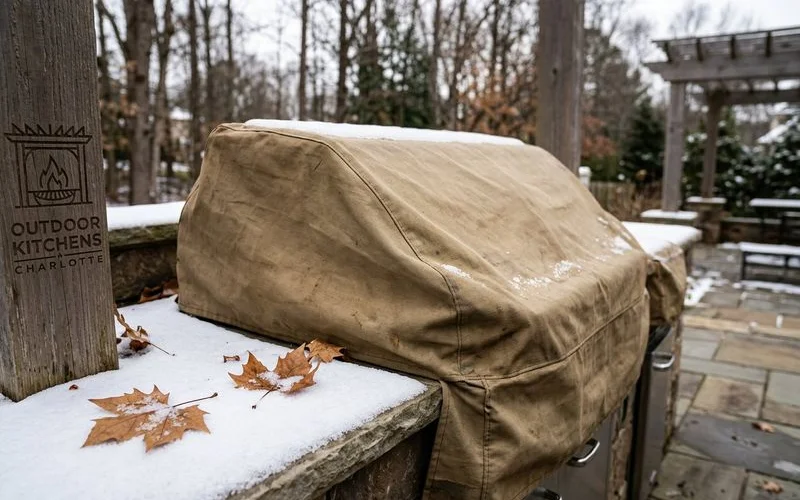
Securing the Grill
A thorough deep cleaning extends the life of your built-in grill. We recommend using a dedicated stainless steel cleaner like Bar Keepers Friend to remove corrosive grease and salt deposits.
Inspecting the burner ports for spider webs and insect nests is another crucial step. Our routine includes using a thin wire brush to clear these small clogs and prevent dangerous flare-ups. You should also apply a very thin coat of cooking oil to cast iron grates to block rust.
Managing Refrigeration
Outdoor refrigerators require careful temperature management. We find that most standard compressors simply stop functioning when ambient temperatures dip below 40 degrees Fahrenheit. If you have a premium unit from Coyote or Perlick rated for lower temperatures, you must verify the manufacturer’s exact minimum operating threshold.
Our standard practice for most clients is to empty, clean, and unplug the fridge for the season. Prop the door open with a small towel to prevent mold growth inside the dark cabinet.
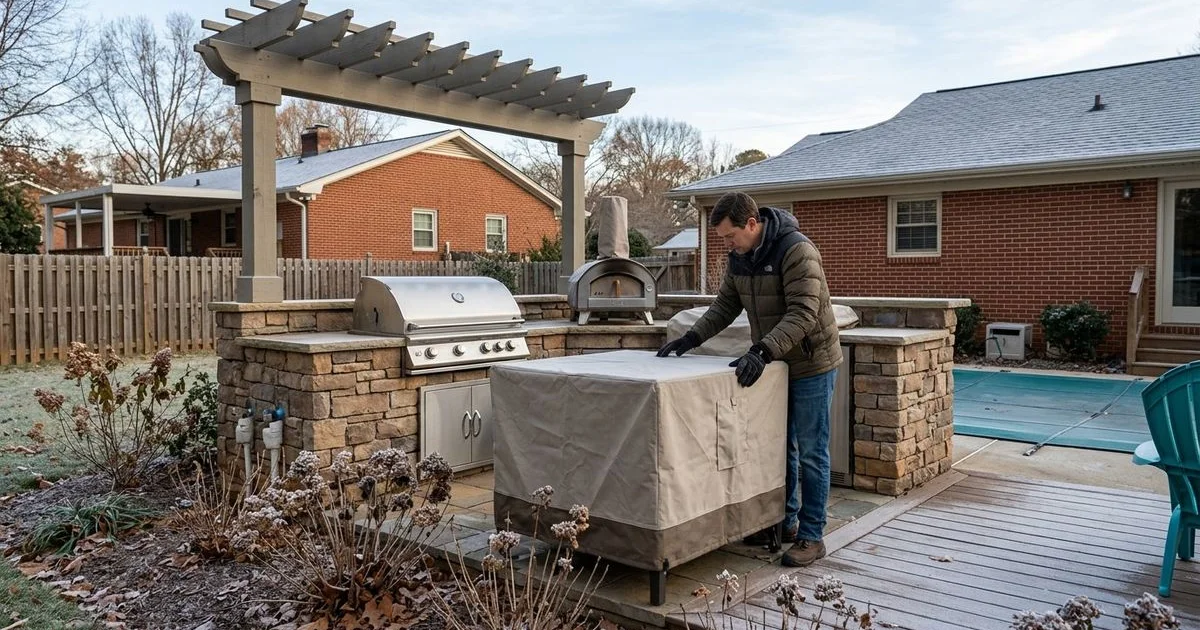
Covering your equipment adds a final layer of armor against the weather. We highly recommend investing in a heavy-duty, ventilated cover from brands like Covermates or Classic Accessories.
Proper ventilation is absolutely critical for long-term storage. Our team avoids completely sealed plastic tarps because they trap condensation and encourage rapid rust development.
Protecting Countertops and Stone Surfaces
The freeze-and-thaw cycle is the primary enemy of stone countertops. We watch water seep into micro-cracks in granite or concrete, freeze, and cause the surface to flake or spall. Testing your stone is incredibly simple and takes only a few minutes.
Our experts tell homeowners to sprinkle a few tablespoons of water on the counter and watch what happens. If the stone absorbs the water and darkens within five minutes, your sealant layer has failed.
We use this simple guide to determine sealant needs:
| Stone Behavior | Sealant Status | Required Action |
|---|---|---|
| Water beads up instantly | Excellent | Maintain regular cleaning |
| Water darkens stone after 10 mins | Weakening | Plan to seal next season |
| Water absorbs under 5 mins | Failed | Apply STONETECH immediately |
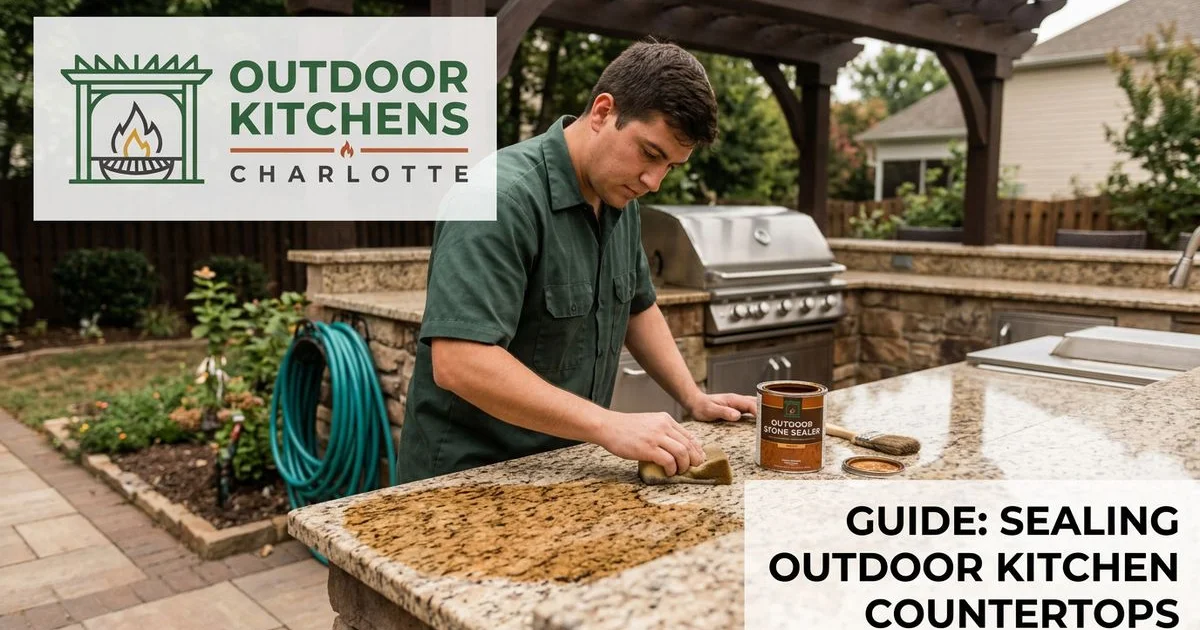
You must apply a fresh sealant correctly for it to work. We schedule all sealing work in September or October when daytime temperatures stay above 50 degrees Fahrenheit. Proper curing requires this foundational warmth.
Our top recommendation for resealing is a water-based penetrating sealer like STONETECH Bulletproof or Tenax Hydrex. Keep the surface totally clean of wet leaves and pine needles throughout the winter to prevent organic staining.
Maintaining Structures and Electrical Systems
Wind and ice exploit any existing weakness in your outdoor structure. We advise doing a quick visual inspection of roofing materials, gutters, and downspouts before December. Tightening loose fasteners and clearing debris ensures proper drainage during heavy winter rain.
Electrical systems demand equal attention. We always test GFCI outlets using the built-in reset buttons. Standard exterior GFCI receptacles have a lifespan of about 10 to 15 years.
Our electricians focus on three main electrical checks:
- Testing and replacing unresponsive GFCI outlets.
- Checking outdoor lighting fixtures for cracked lenses.
- Installing heavy-duty polycarbonate covers like Taymac models over unused outlets.
These covers block driving rain and prevent insects from nesting in the electrical box. If your space includes ceiling fans, reverse the direction to push warm air down, or turn off the breaker entirely if unused.
Spring Recommissioning Checklist
When late February or early March brings warmer days, a systematic restart is necessary. We slowly restore the water service and carefully check every single fitting for leaks. Running the faucets for several minutes flushes out any remaining RV antifreeze or sediment.
Gas lines require a strict safety check before the first cookout. We brush a soapy water solution over the connections to spot bubbling, which indicates a dangerous leak. Checking the burner ports one last time ensures no pests moved in during the late winter.
Our crews run through these final recommissioning steps:
- Plugging in and sanitizing refrigerators 24 hours before stocking food.
- Wiping down all stone countertops with a pH-neutral cleaner.
- Testing the fire features for proper gas flow and ignition.
Taking these deliberate steps protects your expensive setup for years to come. We know that learning how to winterize your outdoor kitchen in Charlotte means your space can remain active with just a little prep.
The addition of a great fire feature makes those chilly evenings incredibly pleasant. For help with fire feature maintenance or upgrades, connect with experienced outdoor fireplace and fire pit specialists who understand Charlotte’s specific seasonal demands.
Sarah Reynolds
Content Editor & Outdoor Living Enthusiast
Charlotte-based home improvement writer specializing in outdoor living.